Easy Dessert Cup Recipes for Any Special Occasion
As I stood in the kitchen, I felt excited. Dessert cups, those delightful treats, were my new favorite thing. They make any event special, from birthdays to weddings.
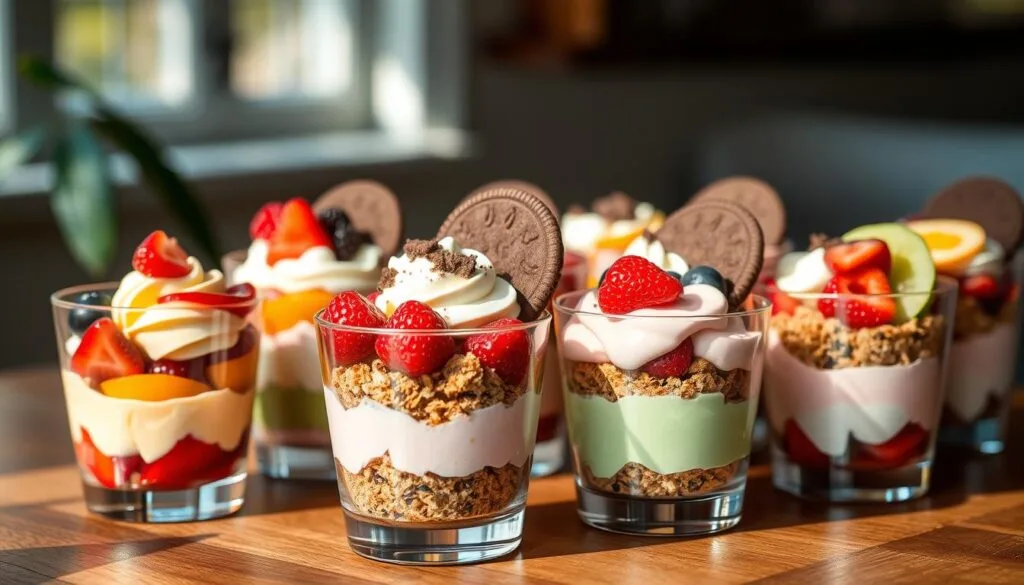
Dessert cups are perfect for any party. They let guests try different flavors without getting too full. Plus, they look great on any dessert table. You can make everything from creamy cheesecakes to fruity treats in these mini wonders.
Table of Contents
Understanding Dessert Cups: Perfect Portions for Every Event
Dessert cups are small treats in cups or jars. They have layered flavors and textures. These mini delights are great for any event, big or small. They let everyone enjoy a sweet treat without feeling too full.
Benefits of Individual Serving Sizes
Dessert cups are better than big desserts for many reasons. They let guests try different flavors without feeling too full. This is perfect for events where you want to offer many sweet options. Plus, they help guests eat just the right amount.
Types of Serving Containers
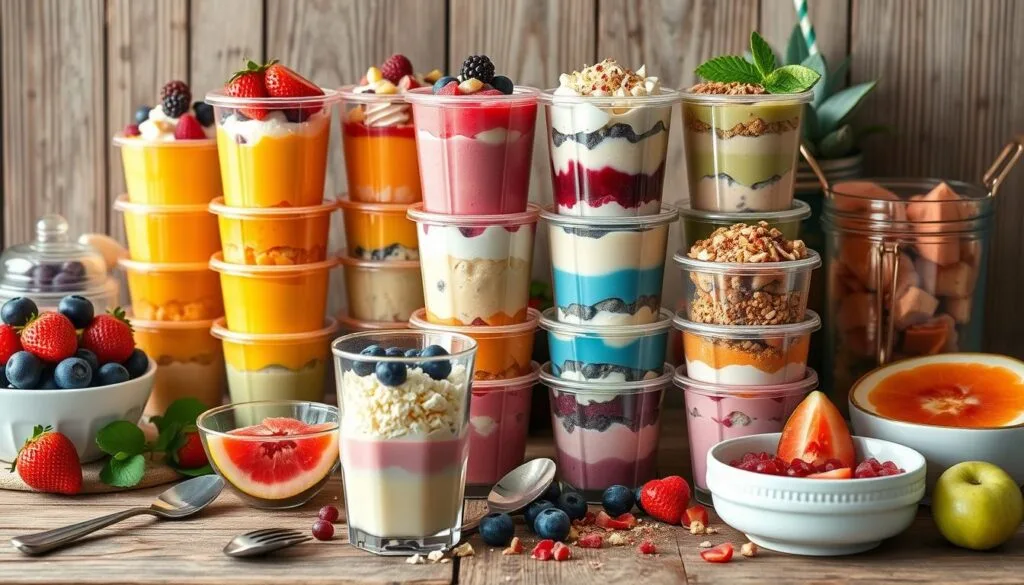
Dessert cups can be in many containers, each with its own look. You can use Mason jars, wine glasses, or plastic cups. The choice depends on the dessert and the look you want. For example, trifle cups look great in clear glass, while no-bake cups work well in plastic for outdoor events.
Portion Control Guidelines
When making dessert cups, think about the right sizes. Use 2-3 oz cups for mini desserts, 5-6 oz for medium, and 8-10 oz for large. For events, plan for 2-3 mini cups per guest. This way, everyone gets to try a few without feeling too full.
Knowing about individual servings, different containers, and portion sizes helps make great desserts. Whether it’s no-bake dessert cups, parfait cups, or trifle cups, these mini treats will impress and please your guests.
Essential Tools and Ingredients for Dessert Cup Creation
Making dessert cups is fun with the right ingredients and tools. Cream cheese, heavy cream, and vanilla extract are key for creamy fillings. Crushed chocolate sandwich cookies make a tasty crust.
An electric or stand mixer is crucial for whipping the filling right. This makes it smooth and perfect.
Piping bags help layer fillings and toppings beautifully in your cups. Food processors are great for grinding cookie crumbs finely. This makes the base smooth and even.
Clear containers are essential for showing off your dessert cups. They let you see the layers of flavors and textures.
| Ingredient | Quantity |
|---|---|
| Cream Cheese | 8 oz |
| Heavy Cream | 1 1/2 cups |
| Vanilla Extract | 2 tsp |
| Chocolate Sandwich Cookies | 2 cups crushed |
With these tools and ingredients, you’re ready to make amazing dessert cup creations. Enjoy making both classic no-bake treats and stunning layered desserts. Your guests will love these sweet, portioned delights.
Popular No-Bake Dessert Cup Recipes
Dessert cups are perfect for satisfying your sweet tooth without baking. They include creamy cheesecake and rich chocolate mousse. These no-bake treats are easy to make and can be customized for any occasion.
Cookies and Cream Cheesecake Cups
These cheesecake cups have a chocolate cookie crust and creamy filling. The crushed cookies add a nice crunch. Top them with whipped cream and cookie crumbs for a special treat.
Chocolate Mousse Parfaits
A chocolate mousse parfait is a classic choice. These dessert cups mix chocolate mousse, whipped cream, and cookies. The mix of chocolate, cream, and crunch is irresistible.
Fruit-Based Quick Cups
Fruit-based quick cups are a light and refreshing option. They use fresh fruit, creamy yogurt, and crunchy granola. They’re a healthy and tasty treat.
These no-bake dessert cup recipes are endless. They let you create a delightful dessert with little effort. Your guests will love them and want more.
Layered Dessert Cup Techniques
Master the art of making parfait cups and trifle cups to impress your guests. These layered desserts are stunning and full of flavor. They’re perfect for any special occasion.
Start with a sturdy base like crumbled cookies or a thin layer of cake. This layer adds texture and supports the rest. Then, add a creamy filling like chocolate mousse or pudding. Mix in chopped nuts or fruit for extra texture.
Use a piping bag to pipe each layer neatly. This makes your dessert look great and ensures even layers. Chill the cups between layers to let the flavors meld and set.

Layered dessert cups are very versatile. Try different flavors and textures to make unique desserts. Whether you choose classic or bold flavors, have fun and be creative.
| Layer | Suggested Components |
|---|---|
| Base |
|
| Filling |
|
| Texture |
|
Explore the endless possibilities of layered dessert cups. Make treats that will amaze your guests and leave them wanting more.
Seasonal Dessert Cup Ideas
Take your desserts to the next level by using seasonal flavors. Enjoy everything from cool summer fruit parfaits to holiday treats. Dessert cups are perfect for showing off the best of what’s in season.
Summer Fruit Parfaits
Bring summer to life in a dessert cup. Mix fresh berries, peaches, or tropical fruits like mango and pineapple. Finish with whipped cream or Greek yogurt for a cool treat.
Holiday-Themed Creations
Make holiday dessert cups that match the season. Try a pumpkin mousse with gingersnaps for Thanksgiving. Or, go for a peppermint chocolate cup with candy canes for winter. These desserts will make your guests happy.
Special Occasion Variations
Make dessert cups special for big events. Try a tiramisu cup with ladyfingers and mascarpone for a wedding. Or, use colorful fruit cups with edible flowers for a birthday. These ideas are sure to wow your guests.
Using seasonal and special occasion flavors lets you make amazing dessert cups. From summer fruit parfaits to holiday treats, the choices are endless. Your guests will love these delicious and beautiful desserts.
Make-Ahead Tips and Storage Solutions
Many dessert cup recipes can be made ahead of time. This lets you start celebrating early. Most can be prepared 1-2 days before your event. They stay fresh and flavorful in the fridge.
To keep your dessert cups fresh, store them in airtight containers. Use Mason jars or small tupperware. Cover each cup with plastic wrap or lids to keep moisture in. This keeps your desserts moist and tasty until serving time.
Some dessert cups can be frozen for up to 2 months. Just thaw them in the fridge overnight. Add fresh garnishes or toppings right before serving for the best look and taste.
Learning to make and store dessert cups ahead of time makes celebrations easier. You’ll impress your guests with beautiful and delicious desserts.
| Dessert Storage | Refrigeration | Freezing |
|---|---|---|
| Prep Time | 1-2 days in advance | Up to 2 months |
| Container | Airtight containers, covered with plastic wrap or lids | Airtight containers |
| Thawing | N/A | Thaw overnight in the refrigerator |
| Serving | Top with fresh garnishes before serving | Top with fresh garnishes before serving |
Follow these easy tips for making and storing dessert cups. They ensure your desserts are fresh, tasty, and look great. Whether you’re making refrigerated desserts or make-ahead desserts, these methods guarantee a wonderful dessert storage experience.

Creative Presentation and Garnishing Ideas
Make your dessert cups stand out with creative garnishes and decorations. These small details can turn a simple dessert into a stunning masterpiece. They will surely impress your guests. Let’s look at some inspiring ideas to elevate your dessert presentation.
Edible Decorations
Add edible decorations that match your dessert’s flavors. Sprinkle chocolate shavings, crumbled cookies, or cocoa powder on top. Fresh fruit like berries, citrus slices, or mint leaves can add color and freshness.
For a fancy look, use gold leaf or edible glitter. These add a shimmering effect. They make your dessert cups perfect for special events.
Color Coordination Tips
Match your garnishes and decorations with your dessert’s theme or season. For a summer parfait, layer strawberries, blueberries, and whipped cream for a red, white, and blue look. In the holidays, use crushed peppermint or white chocolate for a festive vibe.
Try layering ingredients to create patterns visible through the cups. This makes your dessert look great and lets guests see what’s inside.
The secret to amazing dessert cup presentation is choosing and arranging decorations wisely. With these creative touches, you can make a simple dessert into a masterpiece. It will surely impress your guests.
Quick and Easy Dessert Cup Recipes for Beginners
If you’re new to making dessert cups, don’t worry! We have simple recipes that are perfect for beginners. You can make no-bake cheesecake mousse cups, banana pudding cups, and strawberry shortcake cups easily. These recipes need little cooking and can be put together quickly.
Start with recipes that use just a few ingredients and simple steps. Layered desserts, like parfaits, are great for beginners. You can change the flavors and textures to your liking. As you get better, you can try more complex recipes and designs.
Dessert cups are all about making treats special for yourself or others. Be creative and try new things with ingredients, textures, and how you present them. With these easy recipes, you’ll wow your friends and family in no time, for any event.


